Most likely, your sheets in Ulysses will contain more than just text. For example, you’ll add images, attach notes, or create a writing goal. In Ulysses, the dashboard lets you quickly access everything relevant to your text. Here's also a video about Ulysses' dashboard.
The Dashboard on Mac
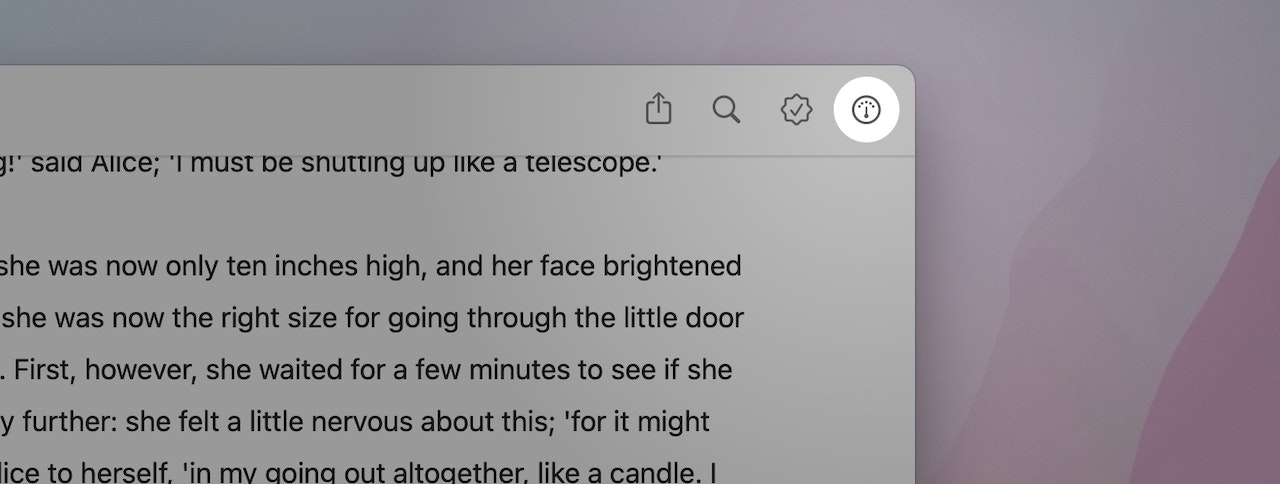
To open the dashboard, click the gauge icon on the toolbar or hit the shortcut ⌘4 (command-4). The dashboard features various views that gather available information with a certain focus.
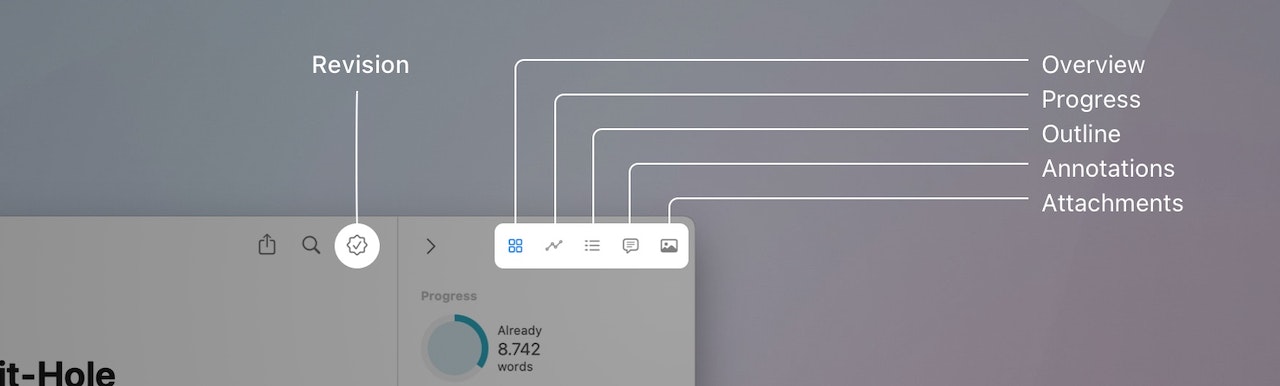
In the dashboard, you’ll find the Overview, which summarizes the most important information the dashboard offers: your writing progress, your text’s outline, media etc. What’s more, you can also edit and add keywords here. Once you have published your sheet as a blog post, the publishing widget will also appear in this view. It’ll display your blog’s name, the publishing status of the post (Draft, Published, Scheduled), and the last upload date.
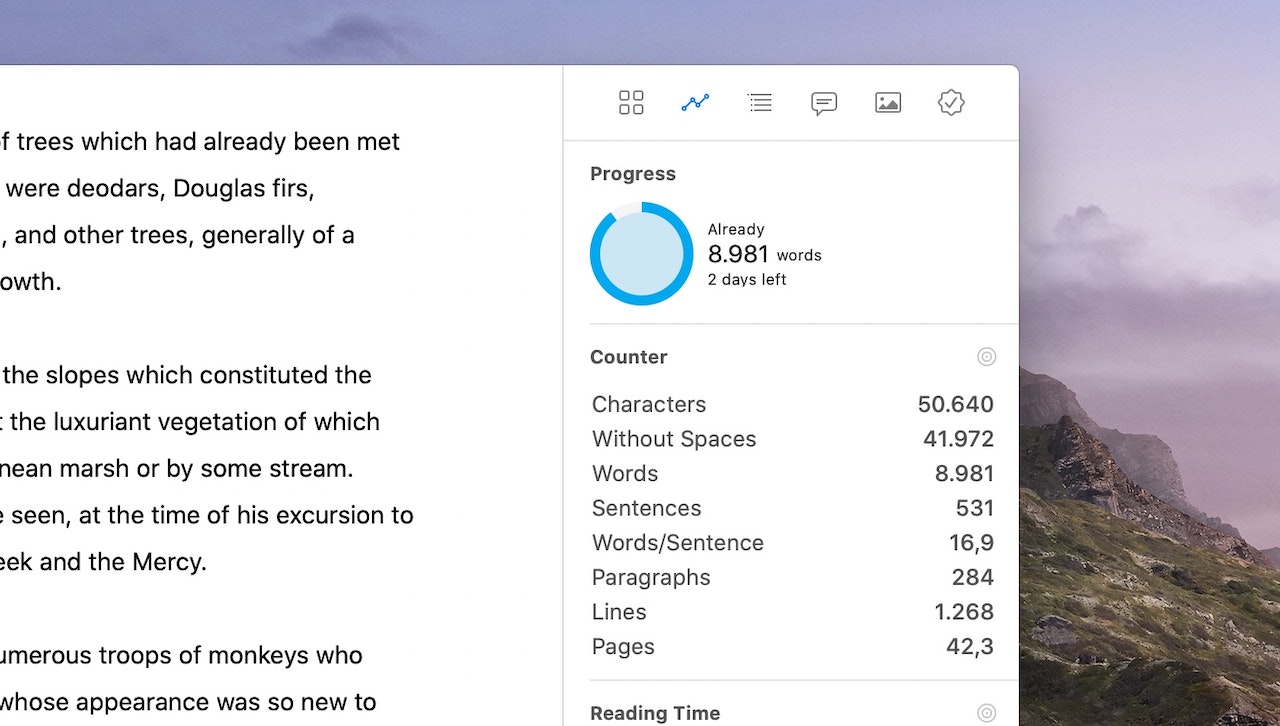
With various counters, e.g., for words, paragraphs, and pages and estimated reading times, the Progress view allows you to determine how long your text is. Via the bullseye icons, you can also set a writing goal for your sheet, e.g., “at most 500 words”, and track your progress towards achieving it.
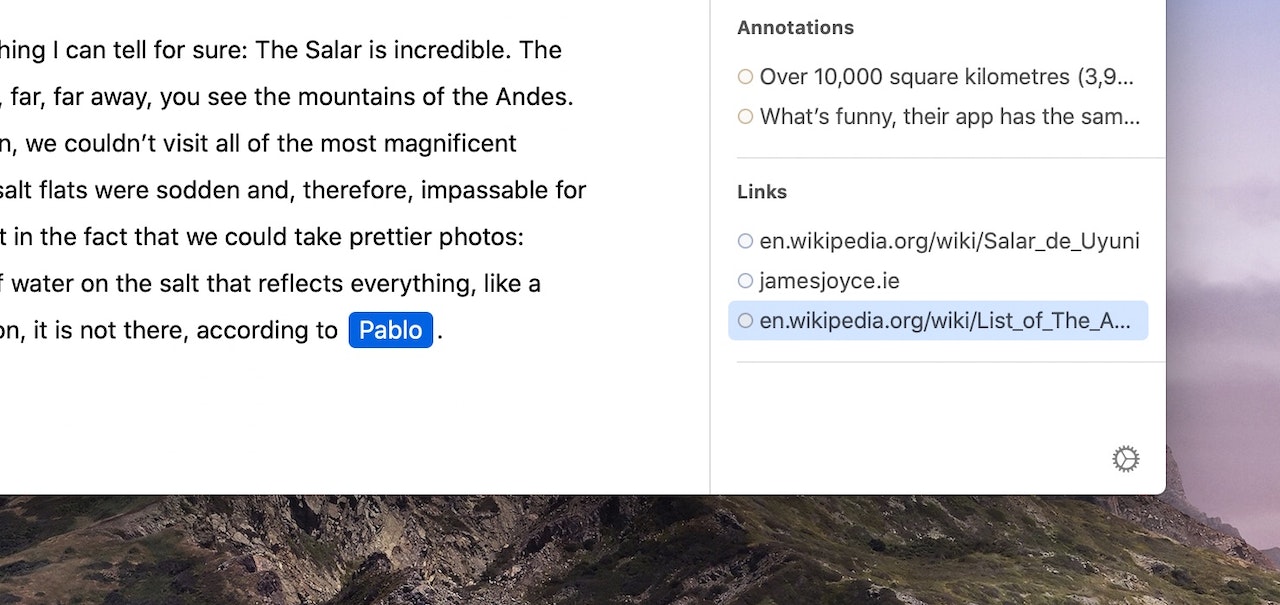
In the Outline view, you can quickly check your text’s structure, as it lists all of your headings in a hierarchical order. But that’s not all: if there are bookmarks, annotations, links and footnotes in your text, they’ll be listed here as well. You can navigate directly to any element to edit it with a double-click.
The Annotations view gathers all kinds of inline annotations in your text, such as comments, deletions, and marked text passages. Moreover, you can attach notes to a sheet from here.
In the Attachments view, you’ll see a list of your sheet’s images and videos. If you want to attach an image that doesn’t belong in the text for further reference, you can do so here.
Last but not least, the Revision view gathers your annotations and the system’s spell check. In addition to that, you can access Ulysses’ advanced grammar & style check from here – just click on “Check Text.”
Once the advanced check is enabled, it analyzes your text and provides informed suggestions in categories such as capitalization, punctuation, semantics, redundancy, typography, and style. This view features a dedicated color scheme that highlights comments and suggestions to make the revision task easier for you.
Please see our video for more information about Ulysses' Revision Mode.
Set Your Preferences
You can customize most of the dashboard’s views according to your needs. That is, you can collapse sections by clicking the arrow next to it. To hide certain sections completely, click the gear icon at the bottom right and uncheck them.
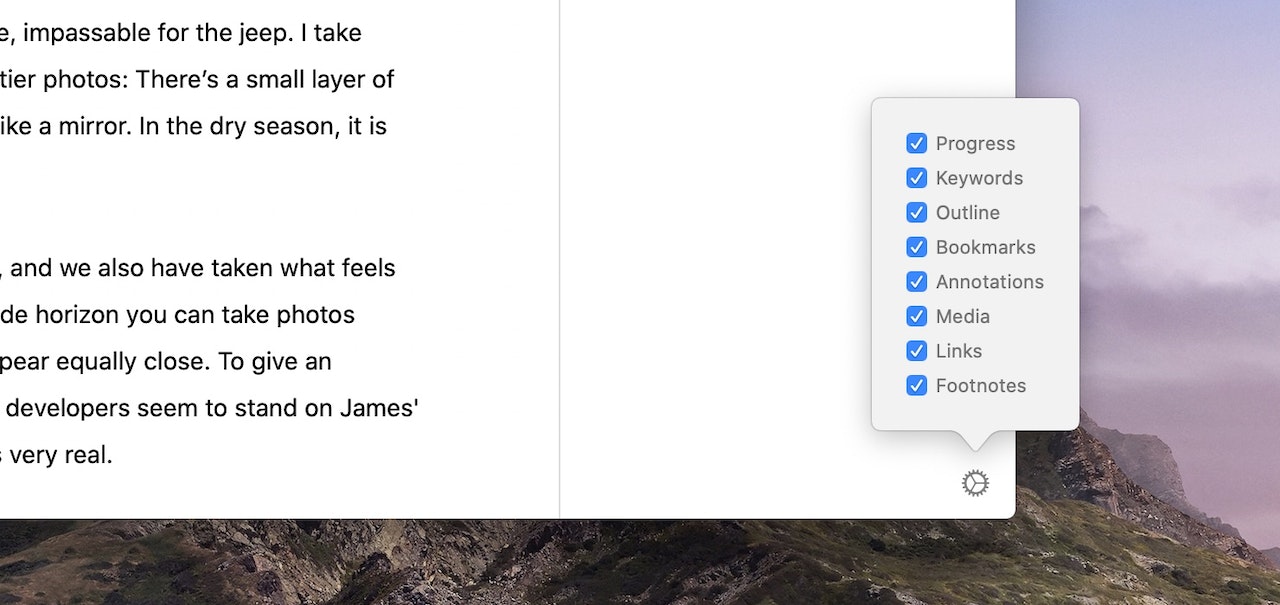
This option is available for the overview as well as for progress, outline, and revision.
The Dashboard on iPad
To open the dashboard, tap the gauge icon on the toolbar. On iPad, there are four different dashboard views that you can access via the icons on the top right.
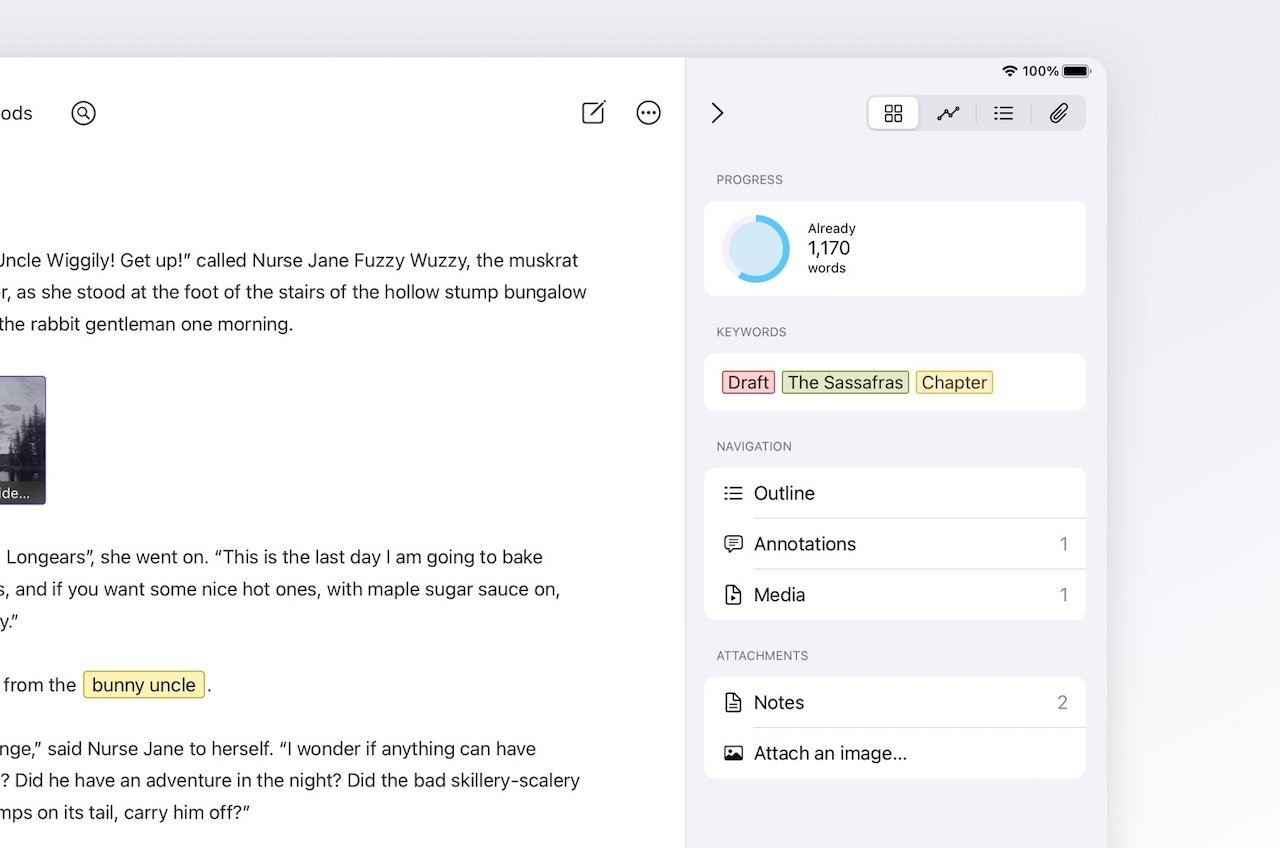
First, there’s an Overview from which you can add keywords and get quick links to all the dashboard's relevant information. The Progress section in this view will display your text statistics or a writing goal, should you have one. Also, you’ll see a list with all navigable items. E.g., tap on Footnotes to get an overview of all footnotes your sheet contains. The Attachments section at the bottom lets you access your attached notes and images.
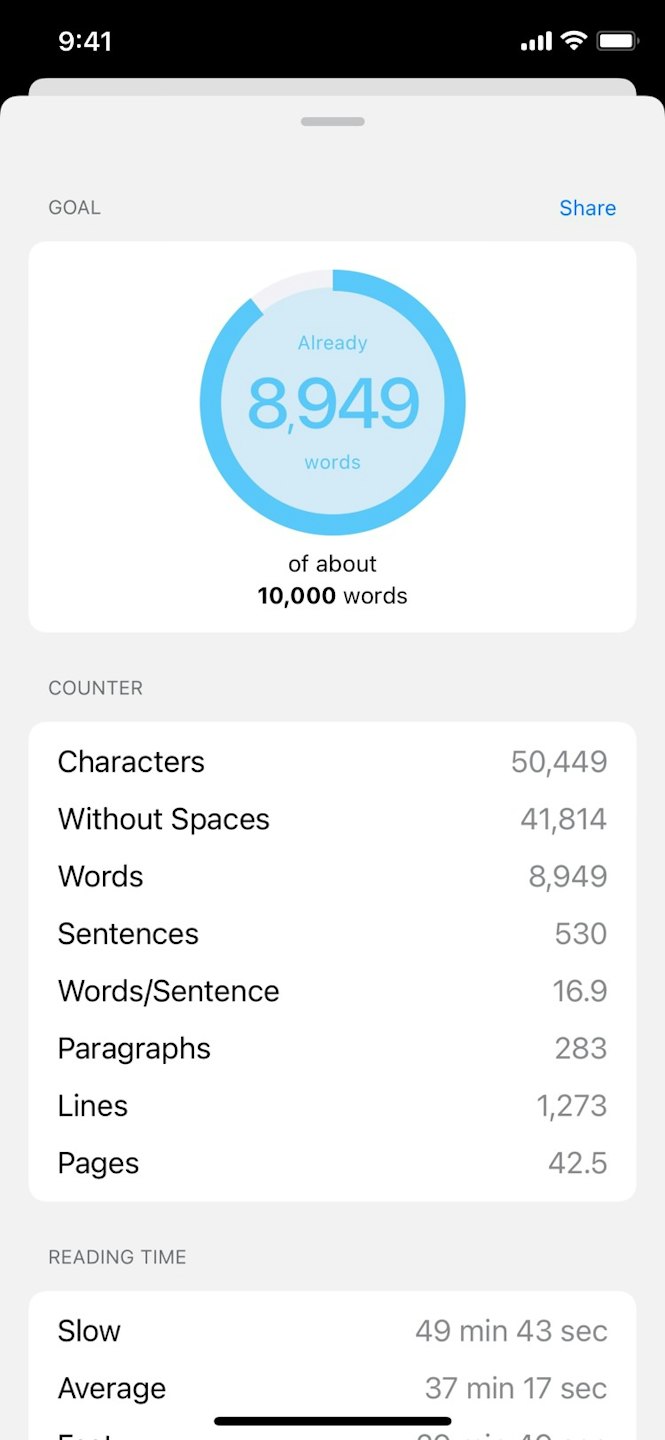
Open the Progress view for a more detailed view of your text statistics, e.g., word count and estimated reading time. Also, add a goal from here to track your writing progress.
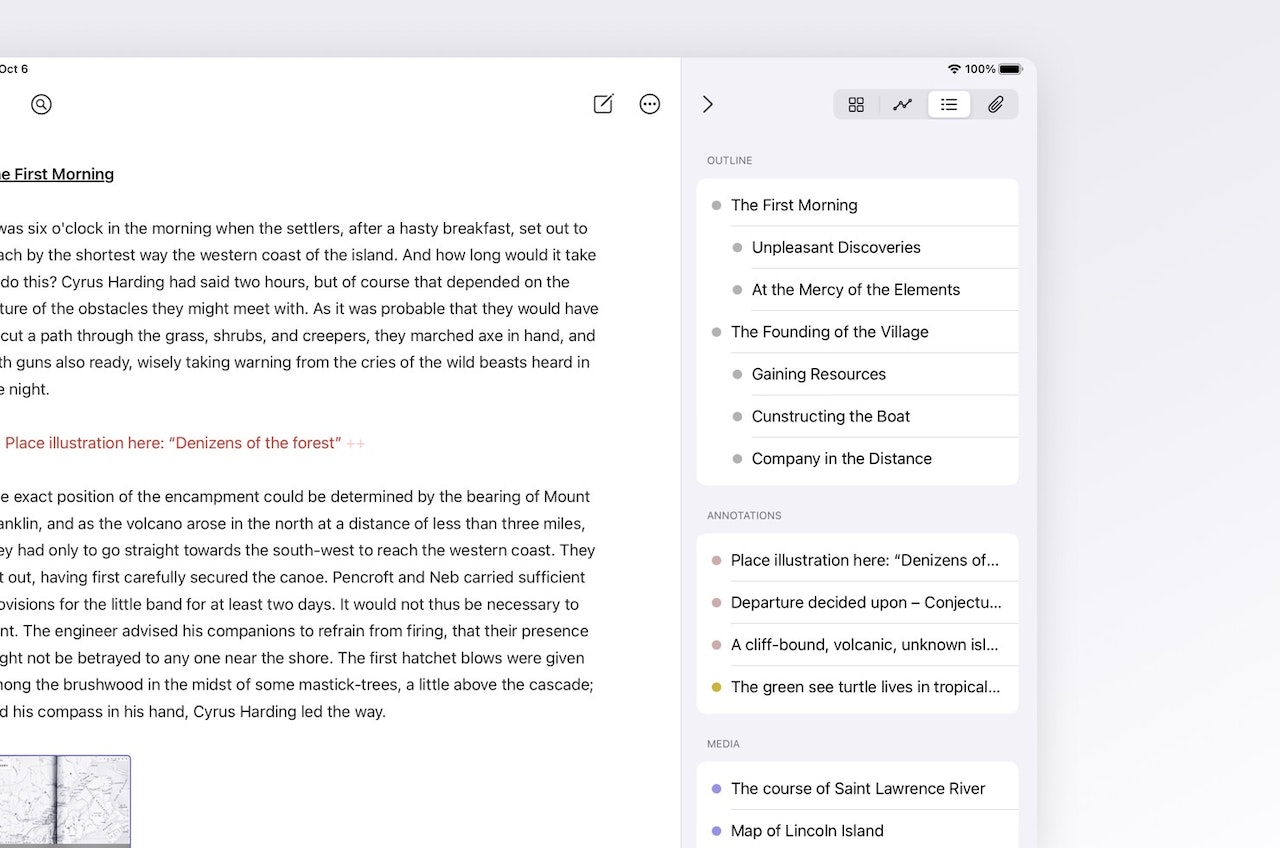
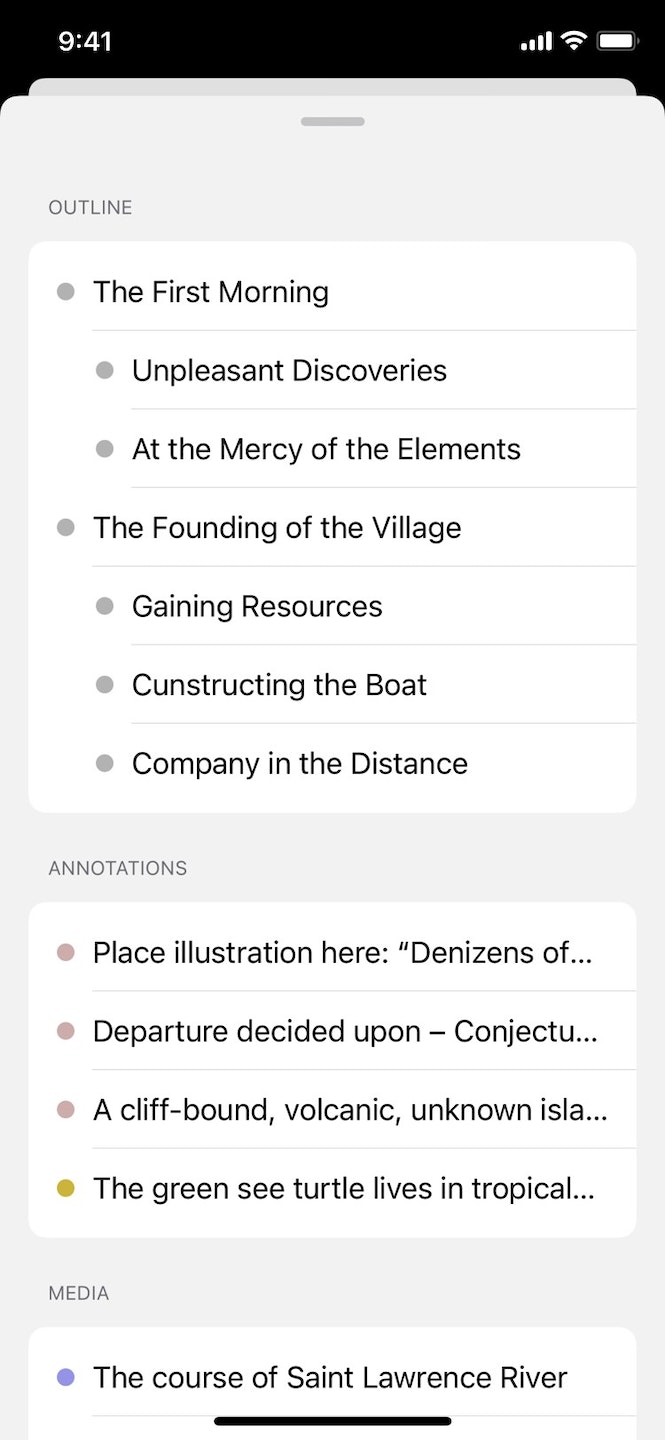
In the Outline view, you’ll instantly see all headings, annotations, media, links and footnotes in your text. You can navigate to each element directly from the dashboard.
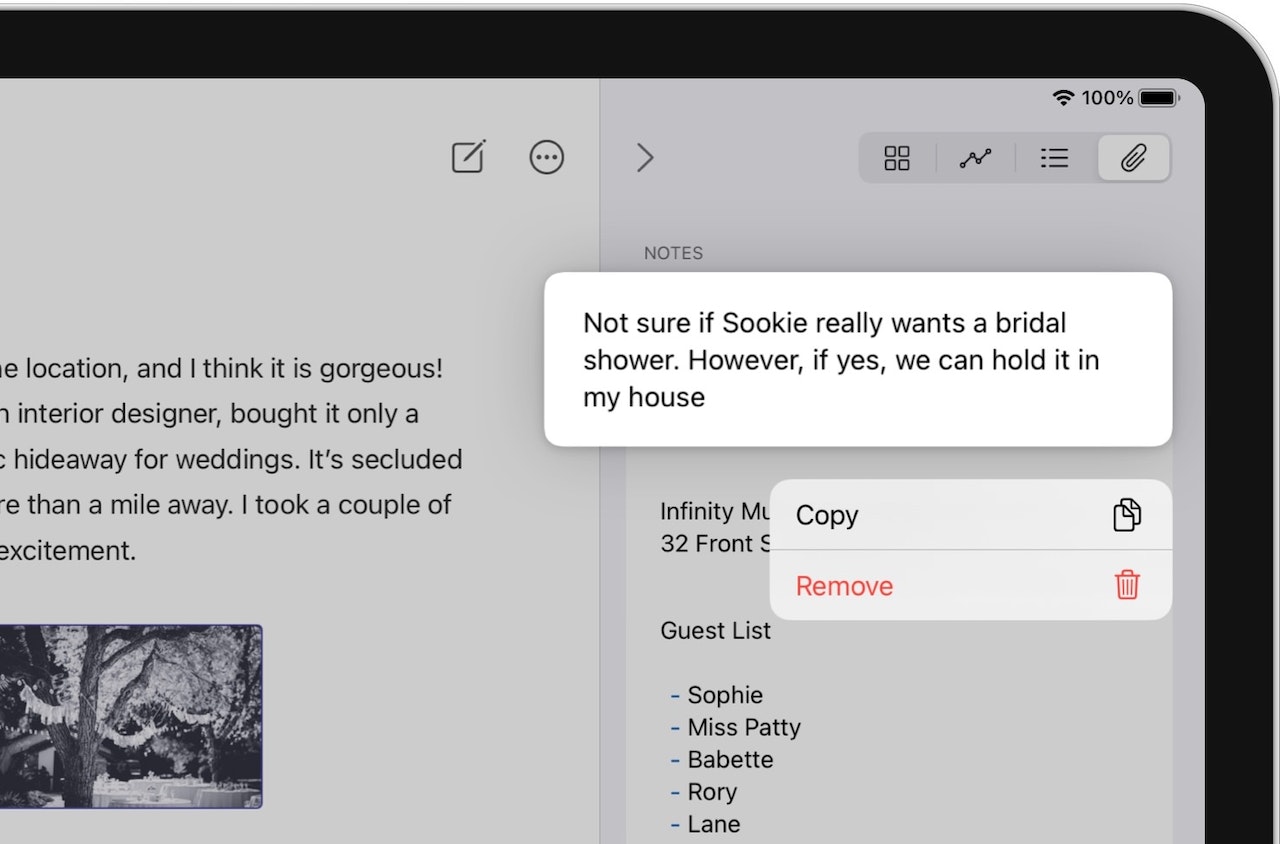
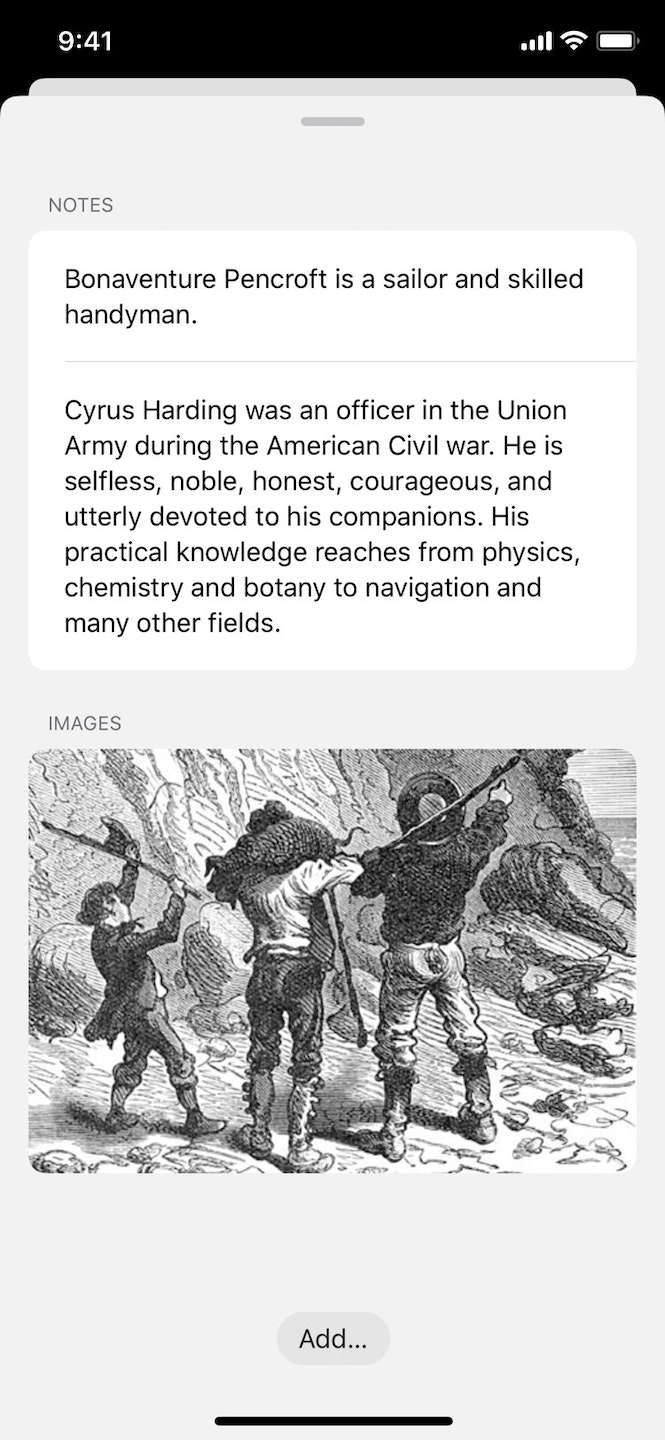
Finally, the Attachments view allows you to see, edit and attach notes and images to a sheet. If you want to delete an attached note or image, touch and hold it, and select “Remove”.
The Dashboard on iPhone
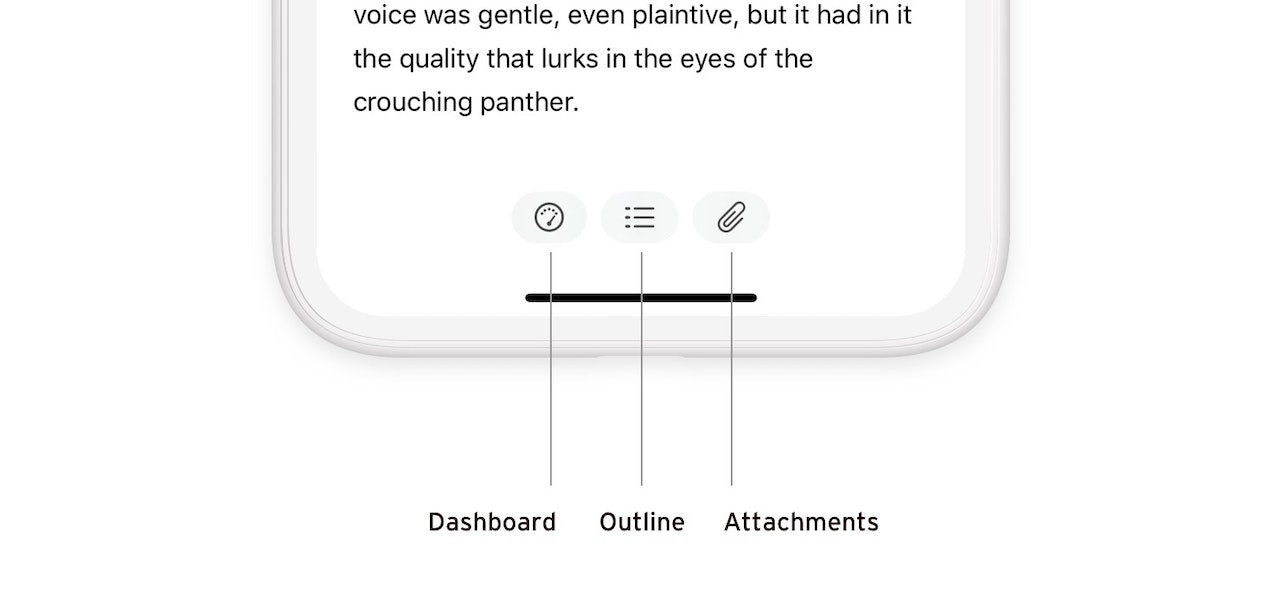
Just like on a Mac or iPad, you can quickly access the dashboard via the gauge icon, which you’ll find at the bottom of the editor.
Tap the dashboard icon to quickly access your sheet’s progress, keywords, navigation and attachments. For more detailed statistics or to add a writing goal, tap in the Progress section. Tap in the respective section to add a keyword or attach a note or an image.
Once you have added a heading, annotation, image, link or footnote, the outline icon will quickly access these elements. For example, just tap on a heading to navigate directly to its position in the text.
The paperclip icon will be displayed if your sheet contains an image or note attachment. Tapping this icon will bring your attachments up. You can attach an image or note by tapping “Add…”.
Simply swipe the view down to close the dashboard, the outline, or the attachments again.