When writing a thesis or scientific paper, authors often need to keep track of references to cite other works. While it might be fine to handle those manually at first, things can get complicated with a larger number of references. Dedicated reference managers can help here, because they simplify the tasks of finding, storing and citing references. Some of these tools also integrate with Ulysses. In the following tutorial, we’ll explain how to use the reference managers EndNote and Bookends with Ulysses and Microsoft Word.
The Workflow in a Nutshell
A typical workflow involves collecting publications on a research topic first. When writing in Ulysses, you would insert references to those publications using so-called citekeys. As a final step, you then export your text to Microsoft Word and finish formatting the manuscript.
Limitations
Not all of the steps involved in this workflow work on iPad/iPhone. For the least, you’ll need a Mac (or a Windows PC) with Microsoft Word and EndNote/Bookends installed, as the add-ins for processing the cite keys are not available for Word’s iOS app.
Preparations in Ulysses
Before copying the cite keys from either EndNote or Bookends, the markup in Ulysses needs to be changed. The cite keys copied from the reference managers look something like this:
{Soulmen:2015le}
A unique identifier of the reference, enclosed in curly braces. In Ulysses’ default markup language Markdown XL, these braces are used as tags for annotations. Since you want to keep the cite keys as they are and not convert them to annotations, you can either use another markup (such as regular Markdown) or create a custom markup.
Creating your own markup, however, can only be done in Ulysses for Mac. In case you own a Mac, you can customize the markup yourself as follows:
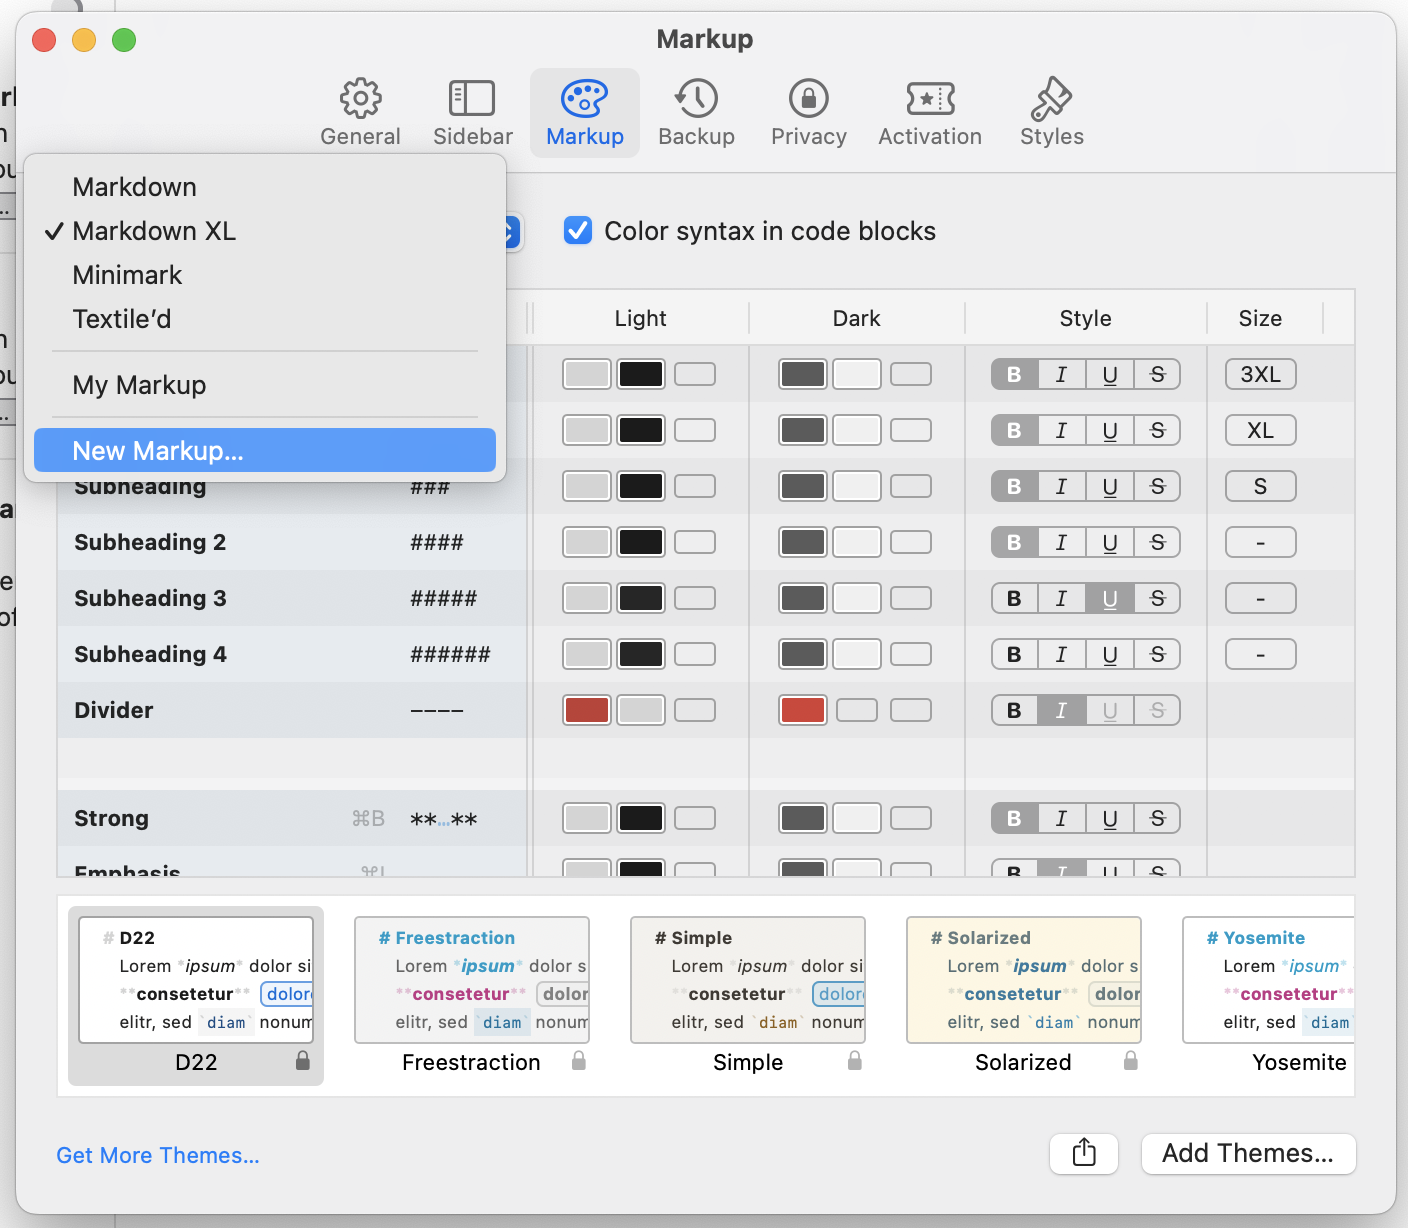
- Open Ulysses’ Settings and switch to the Markup tab. Click on the markup popup button at the top left and select “New Markup…”.
- Enter a new name for your markup (e.g. “Citations”) and pick Markdown XL as a template.
- Scroll down to the annotations markup and double-click it to modify the tags. You can now change the tag for annotations to use angular brackets < > instead of curly braces { }. Then, click OK.
Your custom markup will of course sync to your iPad and iPhone. To use it, however, you’ll need to switch the markup for every sheet where you’d like to insert citations. Here is how to do that:
On Mac, go to Edit (in the menu bar) › “Convert Markup”. Now, select the Markup you just created.
On iPhone or iPad, open Ulysses' Editor Settings via the circled ellipsis in the editor and tap Markup.
Now, you can start inserting references into your texts.
Inserting References on Mac
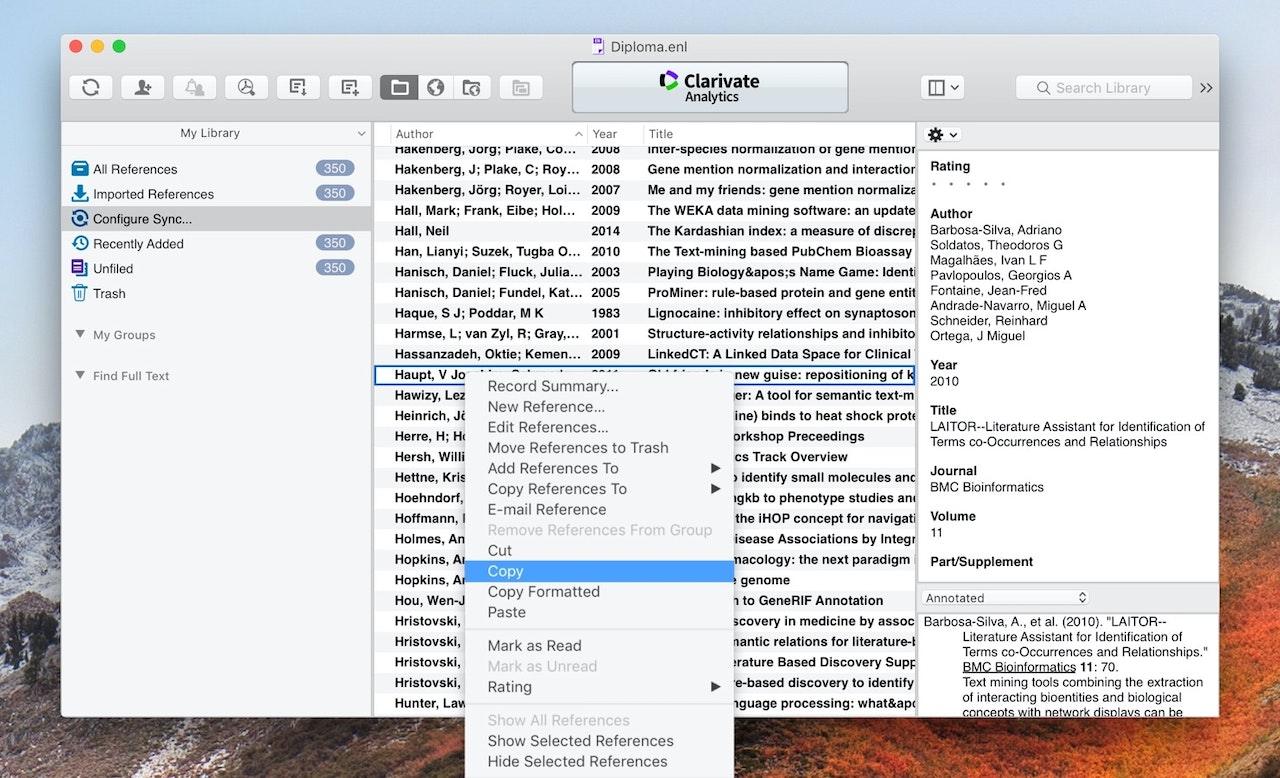
In EndNote or Bookends, please right-click on the reference you want to insert into Ulysses and select “Copy” (1) or use the shortcut ⌘C (command-C).
Switch to Ulysses, right-click into the editor where you want to insert the reference. Now, choose “Paste” from the context menu or use the shortcut ⌘V (command-V). The cite key will be inserted at the correct position in your text (2).
Inserting References on iPad/iPhone
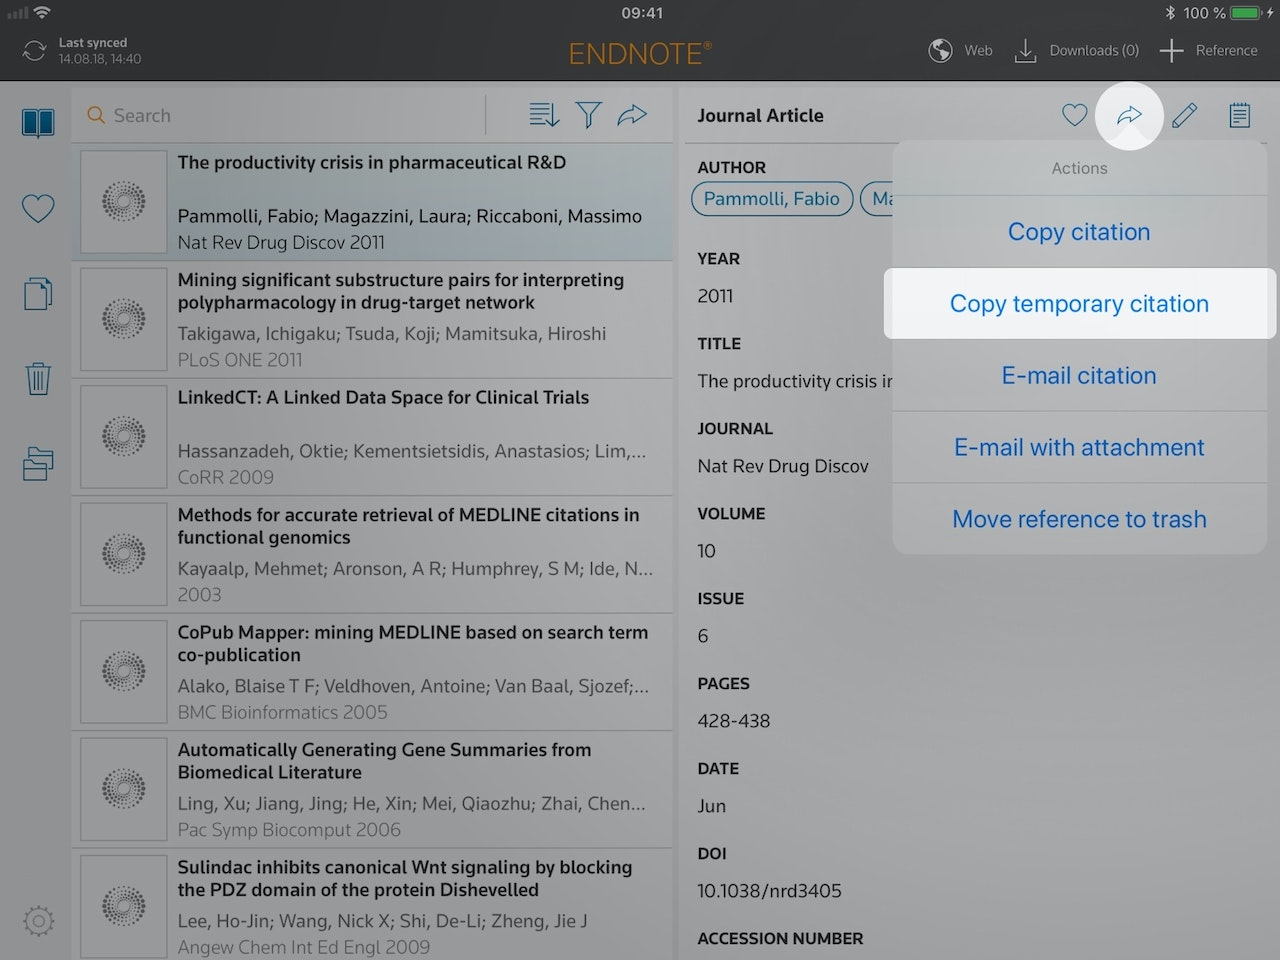
In EndNote (1), select your reference, tap the Actions button and choose “Copy temporary citation” (which is just another term for cite key).
When working in Bookends (2), select a reference, tap the “Share” button and choose “Citation”. In the panel, tap the cite key which will copy the citation.
Then, switch back to Ulysses, tap the spot where you want to insert the reference, and choose “Paste”.
Formatting the Manuscript…
Once you’ve finished your manuscript in Ulysses, you can export it as a DOCX file.
Open the file in Microsoft Word for Mac in order to format your in-text citations and to add a bibliography at the end.
… with EndNote
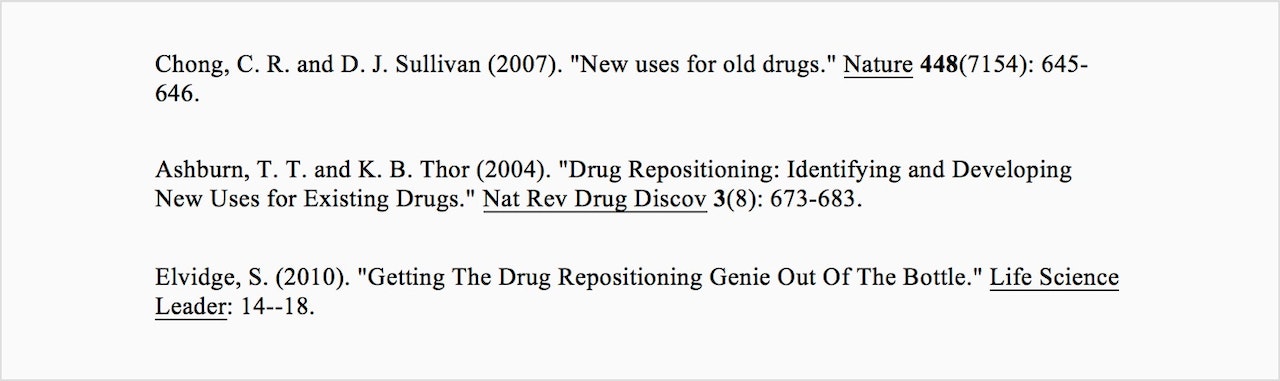
In Word, open the tab “EndNote X9” and click “Update Citations and Bibliography”. The cite keys will be formatted accordingly as in-text references. The bibliography at the end includes all referenced works.
… with Bookends
In Word, go to the tab “Add-Ins” and click “Scan Document”. You will be redirected to Bookends where you can choose your citation style and are presented with other options. Choose a style and click OK.
Your in-text citations will be formatted accordingly and a bibliography will be created automatically.